Introduction to Expression
Step 01
This program has somewhat more of a painterly approach to vector drawing although it still has all the capabilities of a standard vector program. Expression was owned by Creature House, purchased by Microsoft, made freeware, and changed to a program now called Acrylic. The reason this tutorial isn't over the program Acrylic is the fact that Acrylic will only run on Windows XP. This tutorial will go through the basics of creating a pagoda logo. Go to File>New.
Step 02
A new document will appear.
Step 03
Select the brush icon(the 3rd icon from the left). Draw a shape and make sure when you are drawing a shape that the beginning line and end line meet. A circle will appear to notify that the shape will be closed.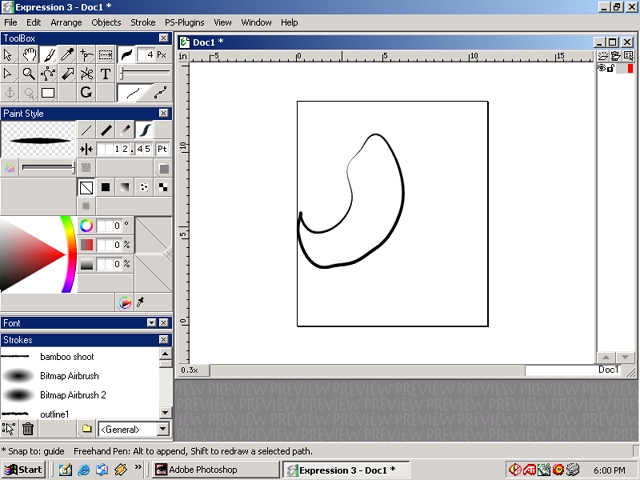
Step 04
Select on the node select tool(the arrow below the arrow on the far left.
Step 05
Adjust the control bars and nodes accordingly to get a desired shape.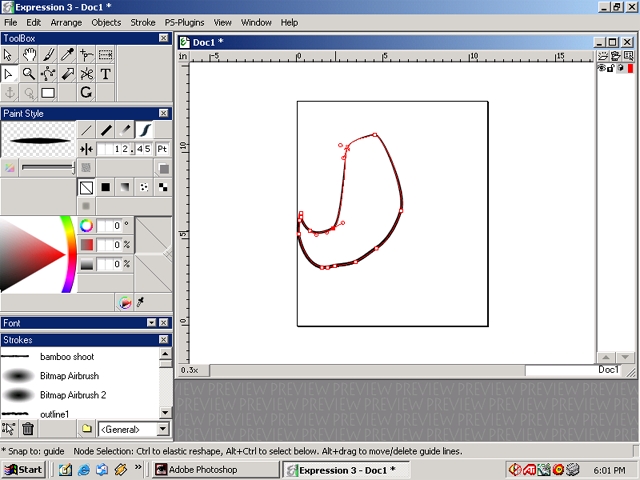
Step 06
Zoom in by using the magnifying glass, pressing plus, or scrolling the middle mouse button. Delete extra nodes by selecting them then pressing the Delete key.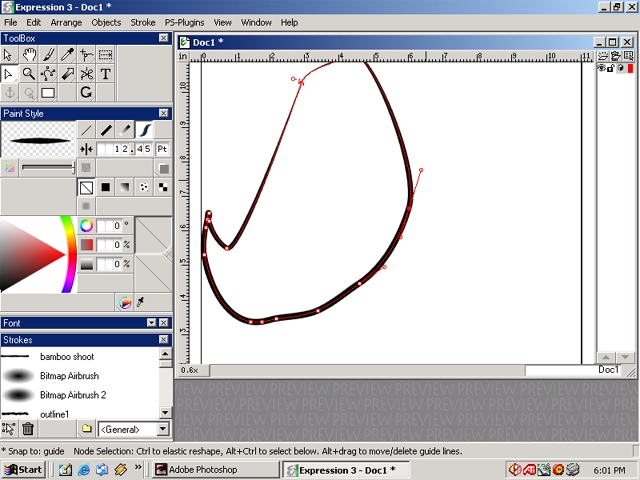
Step 07
Because there are less nodes, the shape looks weird at the moment. However, this will change soon. Select a node.
Step 08
Move the control bar to add more curve to the line. Notice until you let go of the left mouse button there will be a preview line to show how the curve will look.
Step 09
The preview line will disappear one the left mouse button is released.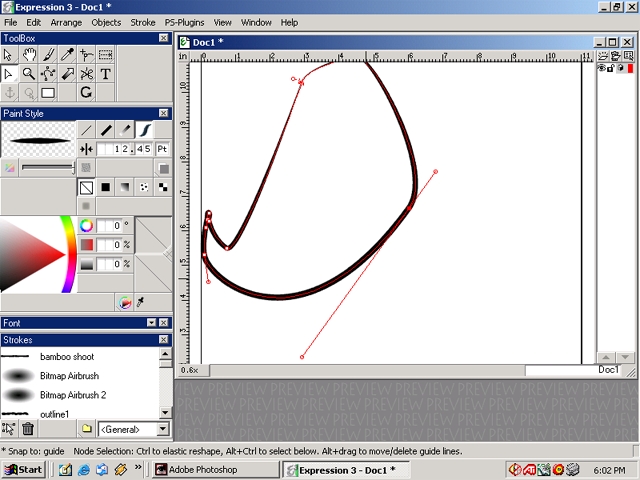
Step 10
Zoom in by using the magnifying glass, pressing minus, or scrolling the middle mouse button. Adust the shape using the control bars and moving nodes.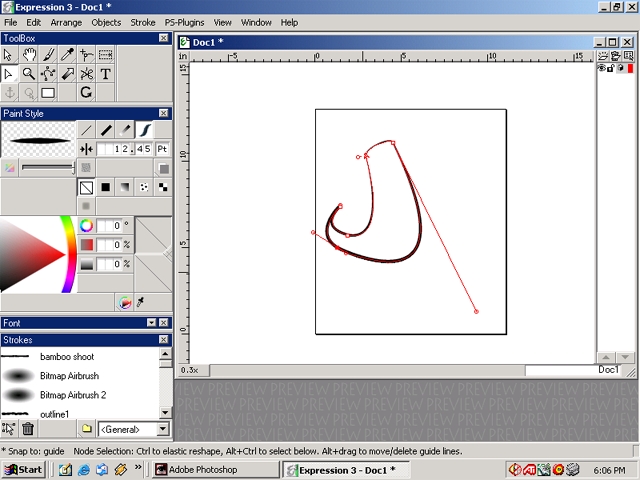
Step 11
Hold down the left mouse button and drag the mouse over the object. This will create a rectangle that will select all of the notes of the shape.
Step 12
Now selection and rotation arrows will appear for the shape.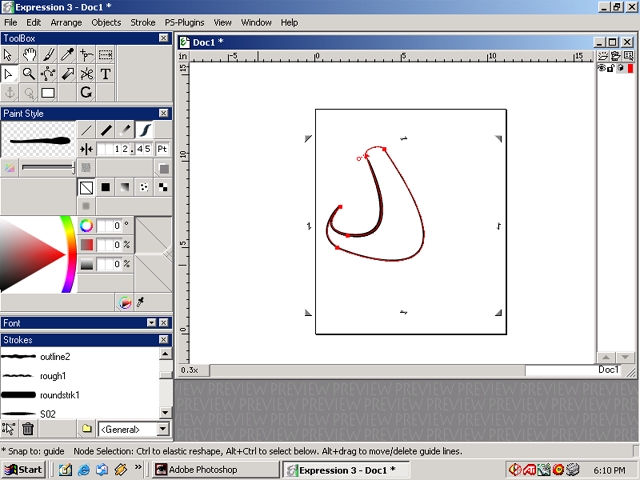
Step 13
Drag the arrows to adjust the size of the shape.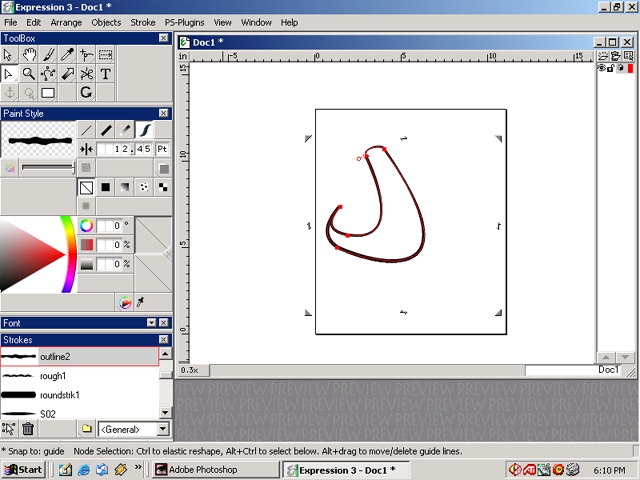
Step 14
Again select all of the notes of the shape. In the strokes option bar select a different line stroke that looks considerably different than the one already being used. Notice the outline of the shape has changed the stroke style.
Step 15
Here is anohter example of a different stroke. There is only a very subtle difference.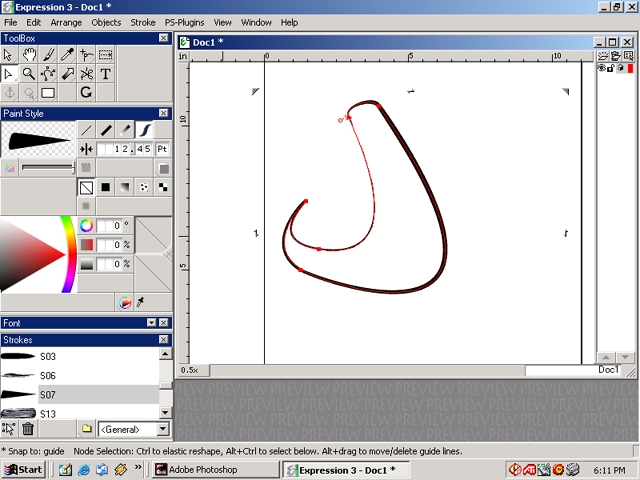
Step 16
Here is anohter example of a different stroke. There is only a very subtle difference.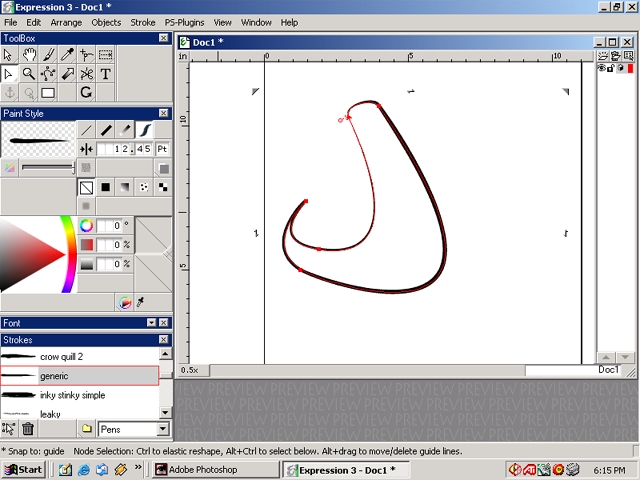
Step 17
Select the node and move it to a desired position.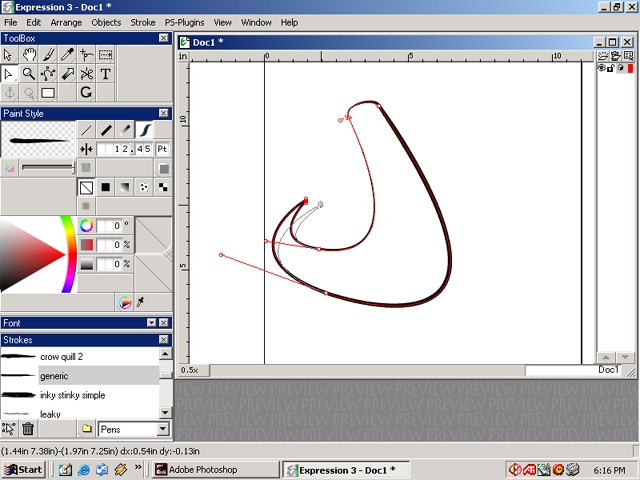
Step 18
Go to File>Save As.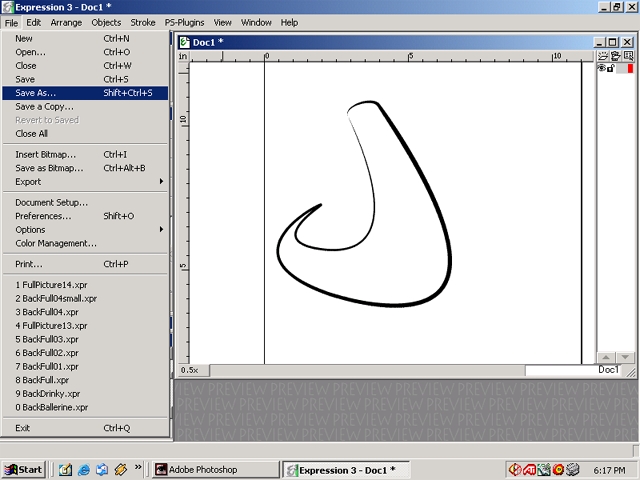
Step 19
Move to the appropriate drive.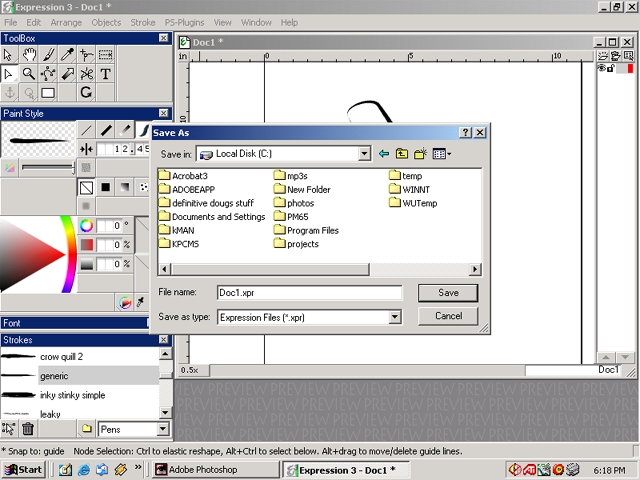
Step 20
Also find the appropriate folders.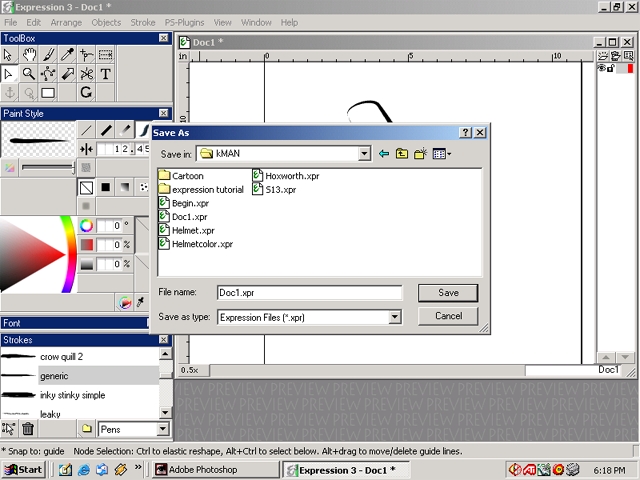
Step 21
Once inside the correct folder change the name of the file. The native format for Expression is XPR. Select save.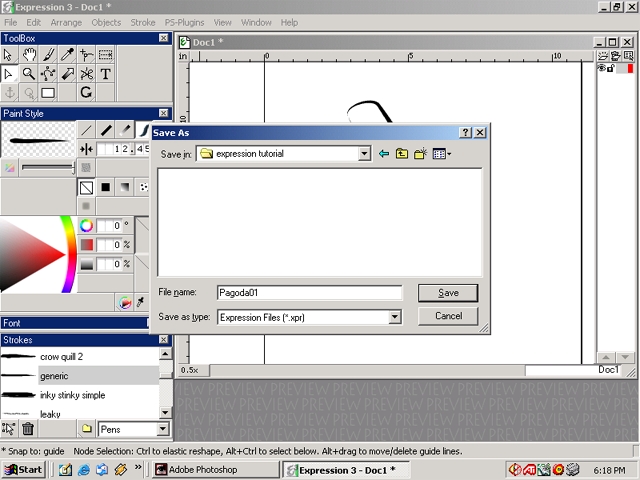
Step 22
Now the file will be given the saved name.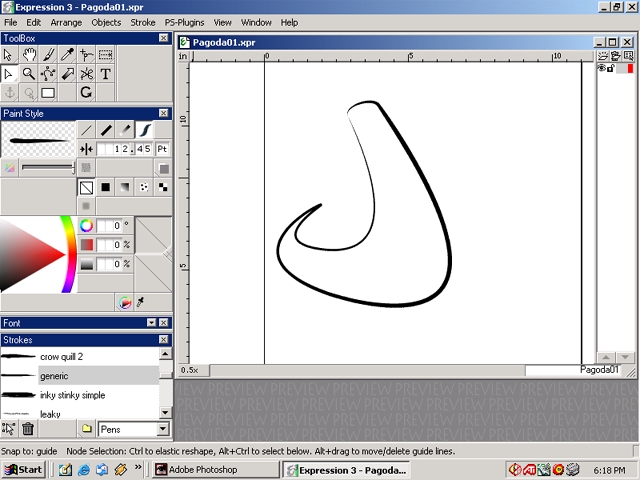
Step 23
With the node selection tool chosen drag the mouse over an area.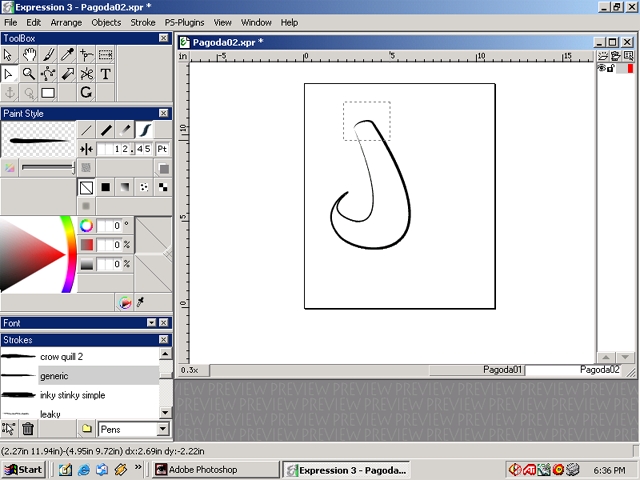
Step 24
Now two nodes are selected.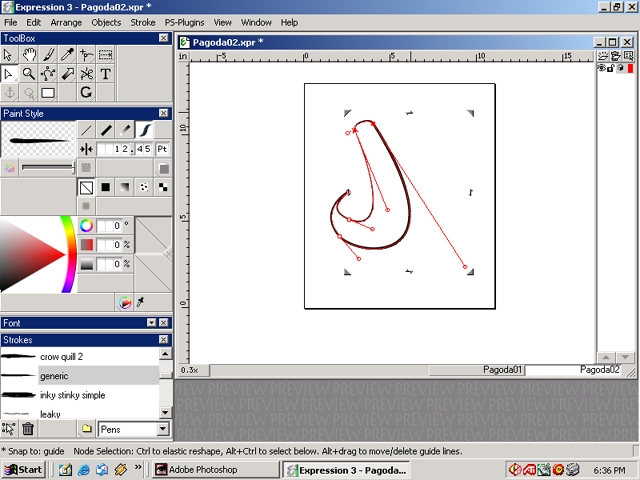
Step 25
Hold down the left mouse button on the one of the selected nodes and move the mouse. All the nodes selected will move.
Step 26
Select the shape with the object selection tool. The object does not have any color filled inside. A box with a diagonal line inside denotes this(located at the middle left part of the screen).
Step 27
Choose the filled in box icon to the right of the icon with the box with a diagonal line inside. This will chose a fill color for the shape. Right now it is black.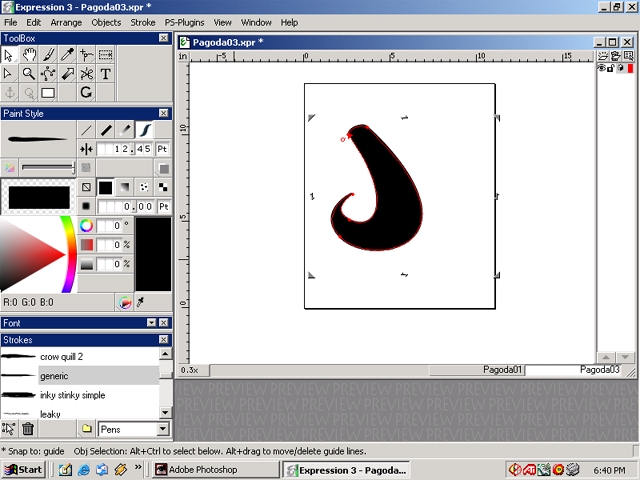
Step 28
Pick a different color from the palette to change the fill color.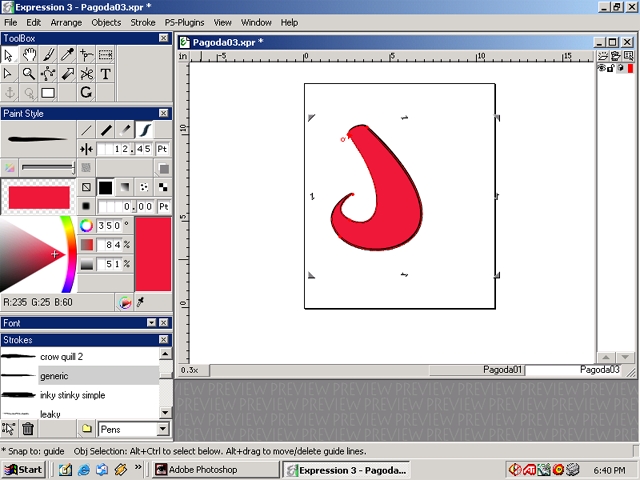
Step 29
This will be the color I use.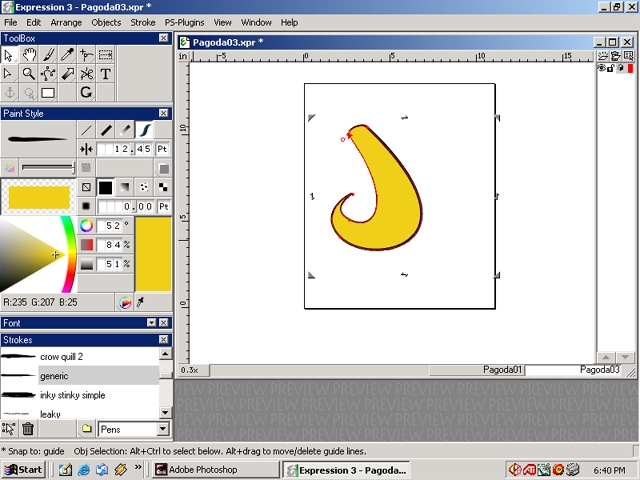
Step 30
Choose the shaded box to the right of filled in box icon. This is the gradient fill tool. This will chose a gradient color for the shape. In that dialog box the faded triangle icon denotes a linear gradient(near the left mid area of the screen).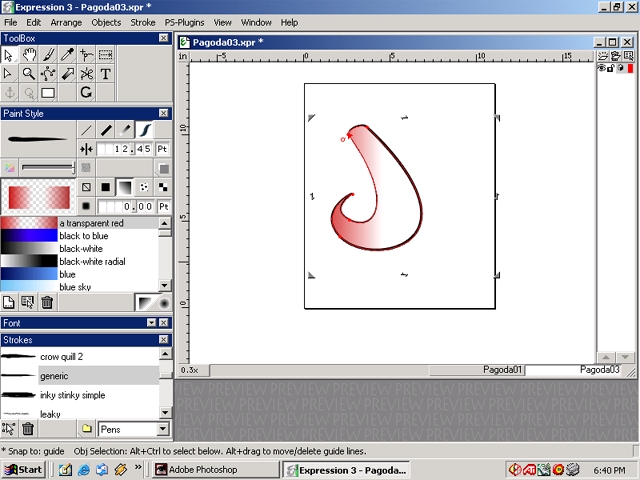
Step 31
Choose the shaded circle icon next to the linear gradient icon. This is radial gradient.
Step 32
There are many choices of gradients to pick. Here is one that will be similar to my final choice.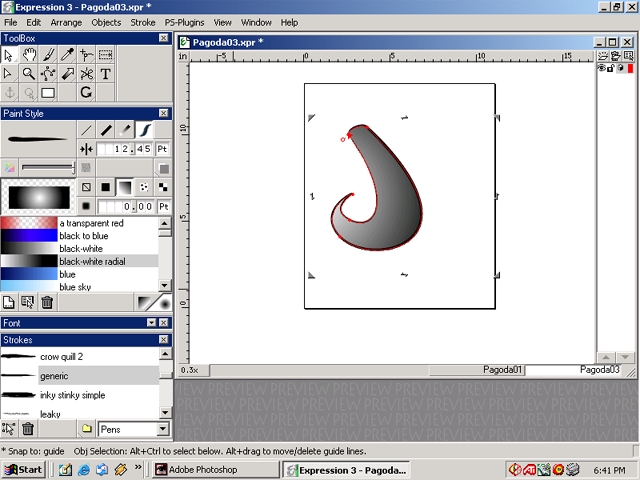
Step 33
Select the icon directly to the right of the gradient tool. This is the pattern tool.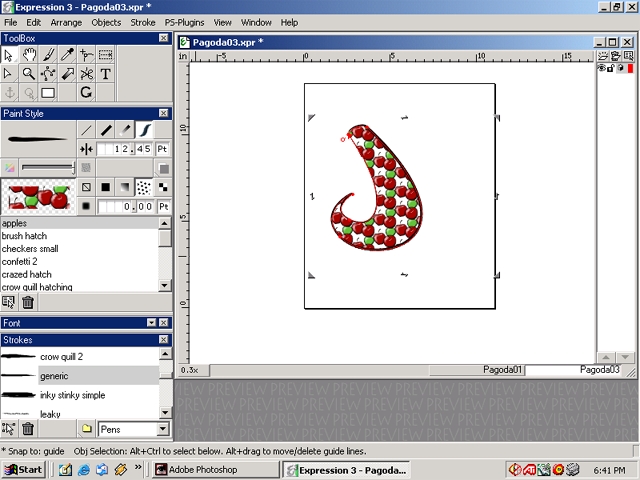
Step 34
Select through the different patterns to find a desired pattern.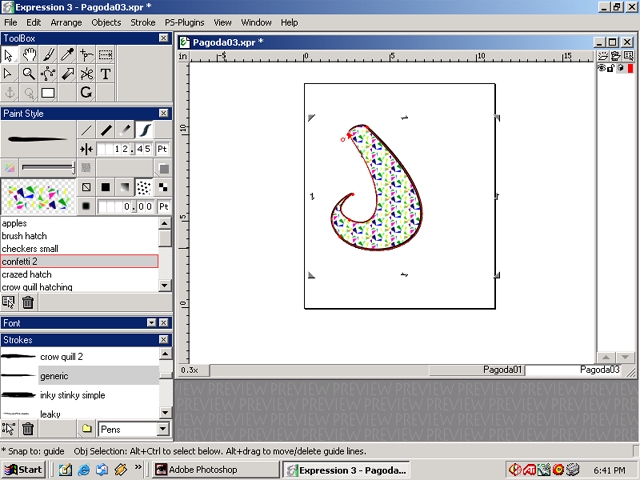
Step 35
Select the icon directly to the right of the pattern tool. This is the image tool.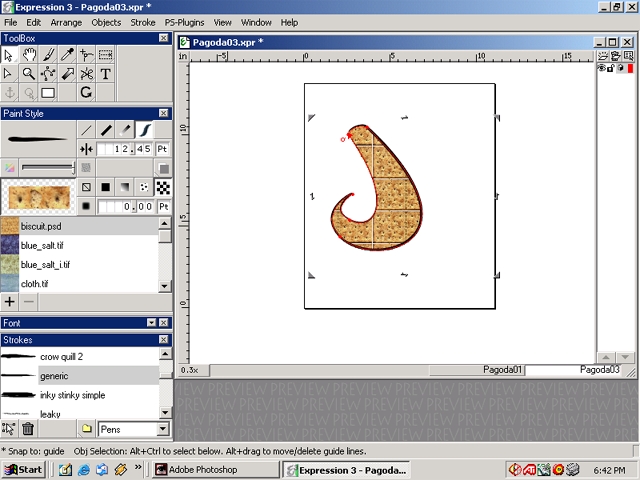
Step 36
Select through the different images to find a desired image.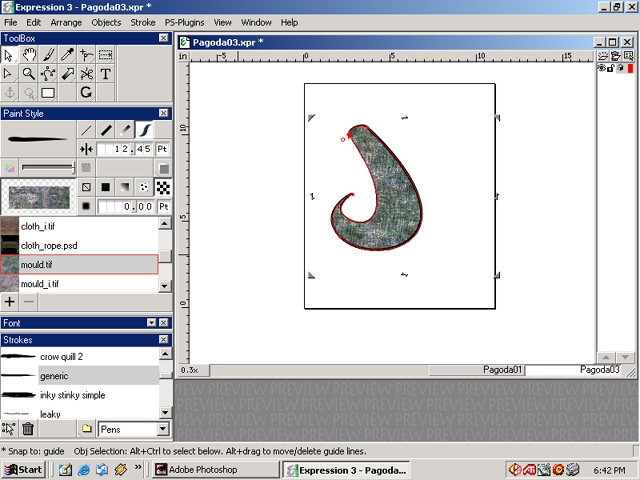
Step 37
Go back to the the original fill tool.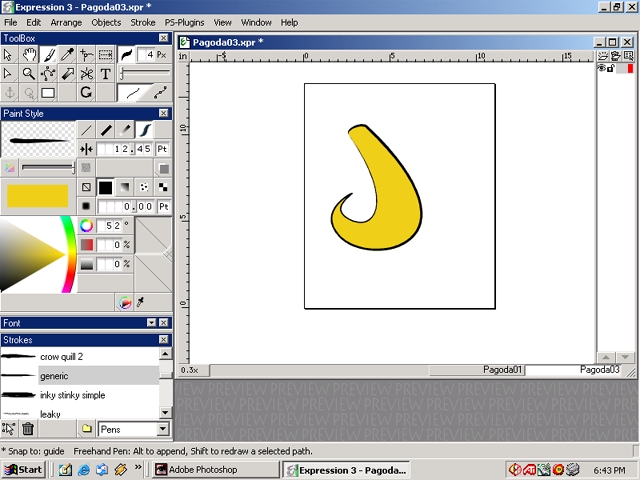
Step 38
Select the brush tool(the 3rd icon from the left top area). Draw a line. The line width I chose was 15.28 Pt.
Step 39
Draw another line. The line width I chose was 34.76 Pt.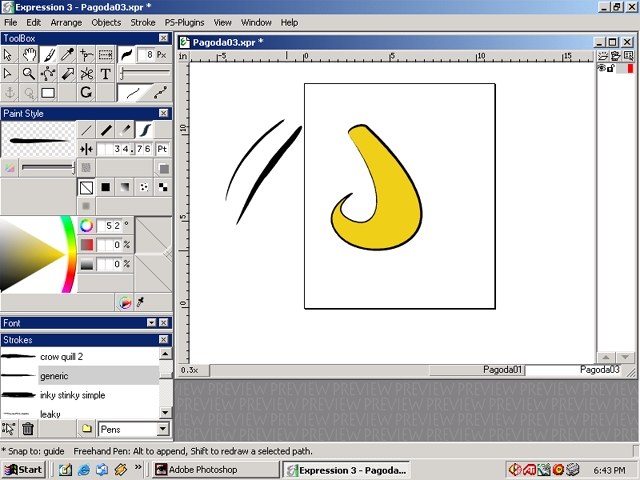
Step 40
Draw another line. The line width I chose was 70.93 Pt.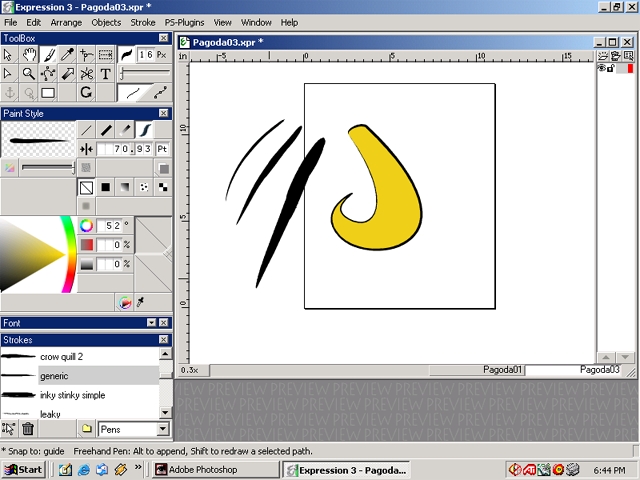
Step 41
Draw another line. The line width I chose was 127.41 Pt.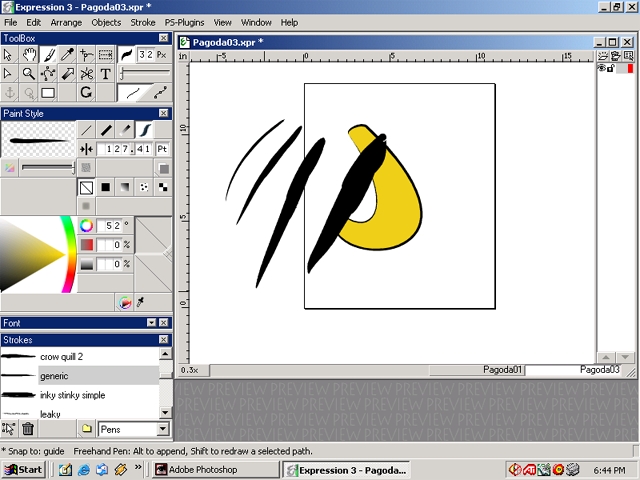
Step 42
Undo all of the lines by pressing CTrl+Z. Object list window(near the bottom of the screen) is not there go to the menu bar. Select Window>Object List or press F6. The object list window shows the layers used for each shape.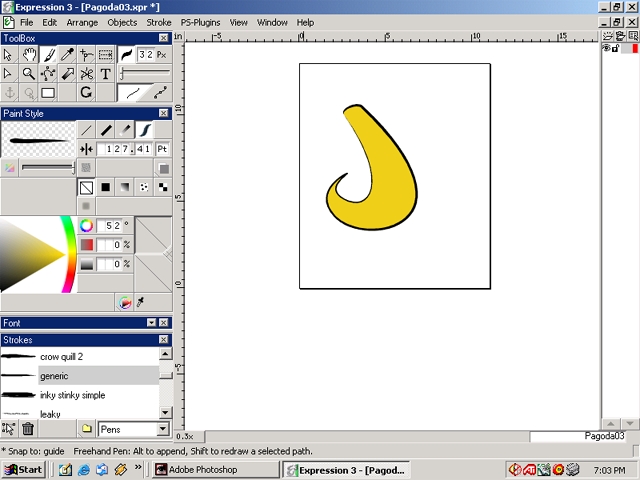
Step 43
In the Object List dialog box select the leftmost bottom icon to make a new layer. Name the layer Lines.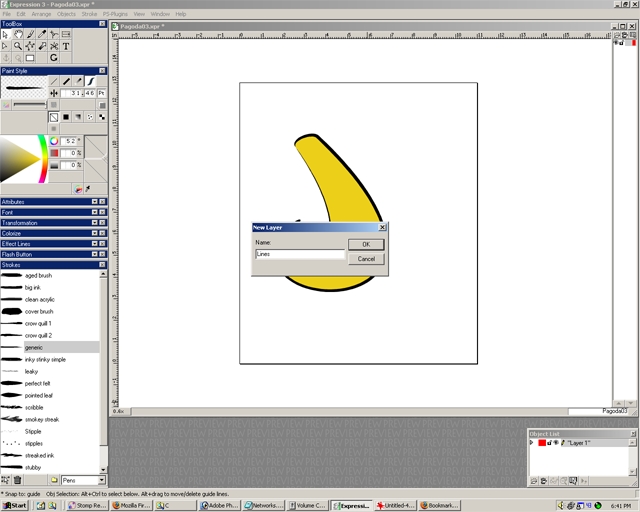
Step 44
Notice the layer will be colored differently and will appear in the Objects List dialog box on top of the previous layer.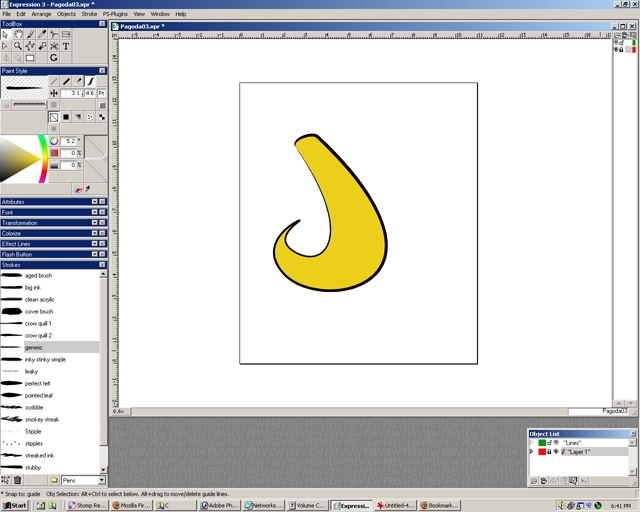
Step 45
Make sure the Lines layer has been selected and highlighted.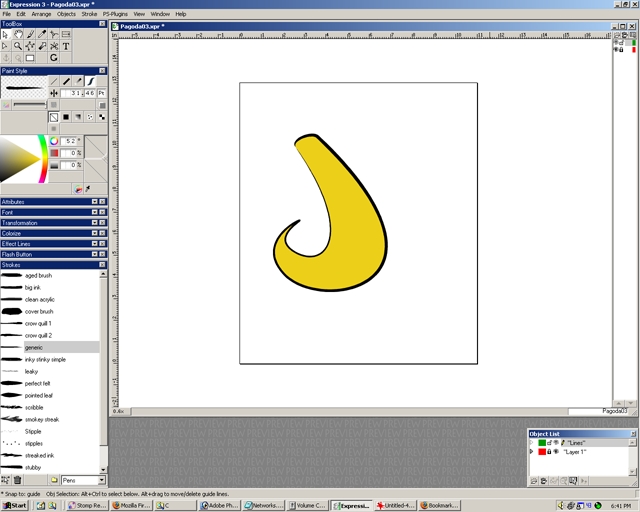
Step 46
Draw lines over the object.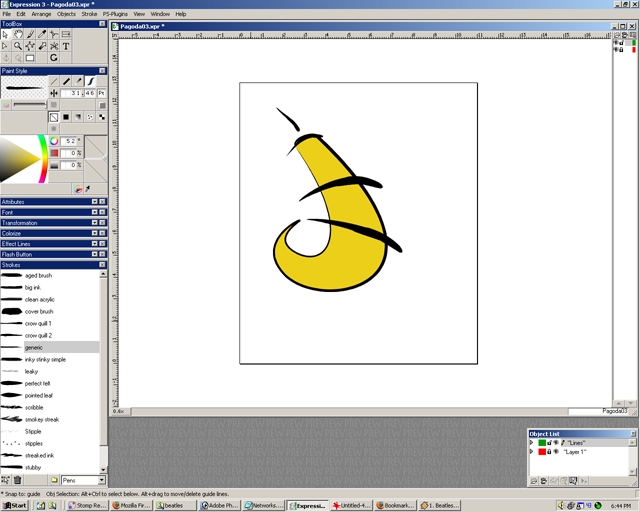
Step 48
Select one of the lines.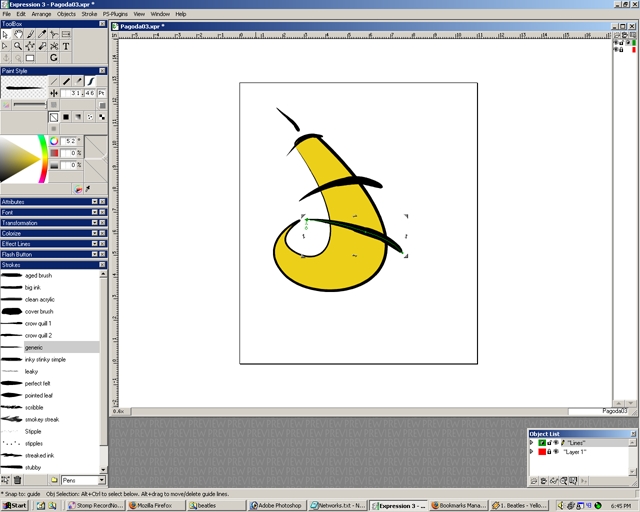
Step 49
I change the line thickness from 31.46 Pt to 59.46 Pt.
Step 50
With the line still selected look in the Strokes dialog box. My stroke selected is generic in the Pens category.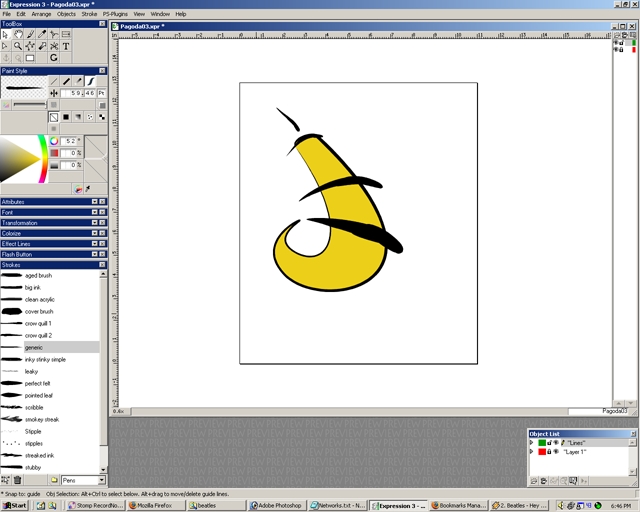
Step 51
Go to the general category and select a stroke. I selected S07. Notice how it changes the line.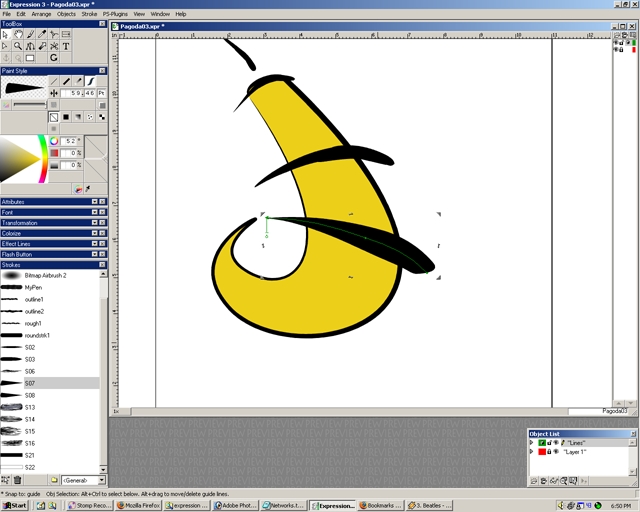
Step 52
Double left click with the mouse on the brush stroke in the Strokes dialog box. Now the actual brush shape used will appear in its own dialog box.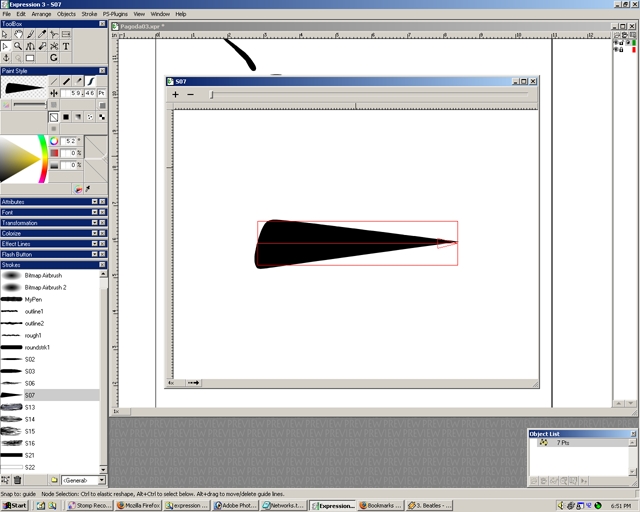
Step 53
Zoom in and move the view so the view is set as shown. Select nodes to alter the brush shape.
Step 54
I move the upper left nodes to change the shape.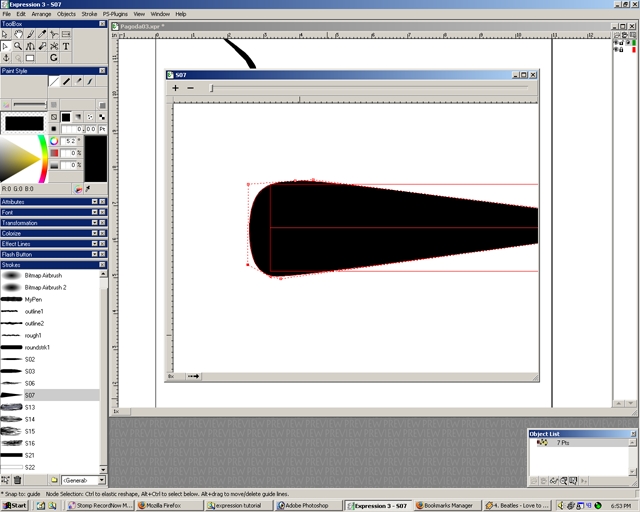
Step 55
Zoom out to make get a better view of brush shape and make sure it is made to the proper desired look.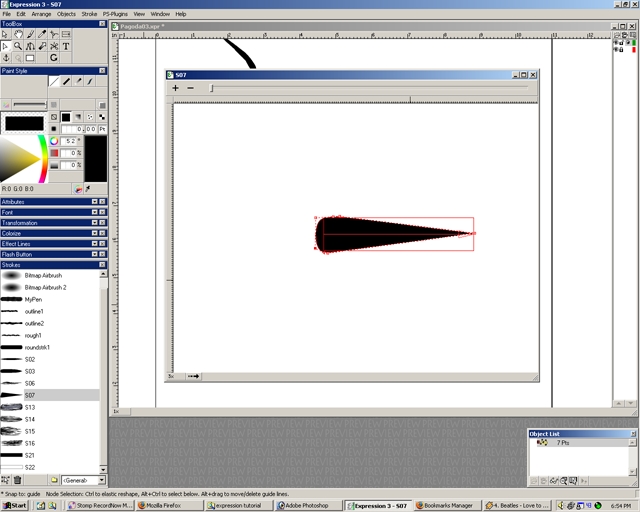
Step 56
Close the specific brush dialog box. A popup box will appear. Enter a new name for the new stroke created. I chose S08.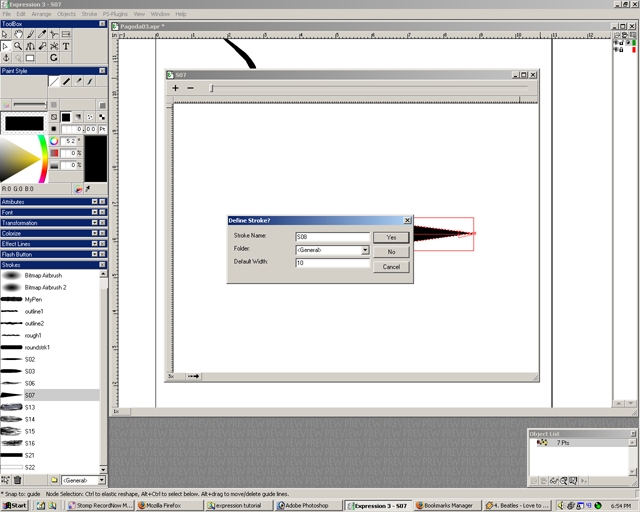
Step 58
Make sure the line is still selected and also the node select icon is chosen.
Step 59
Move the line as needed.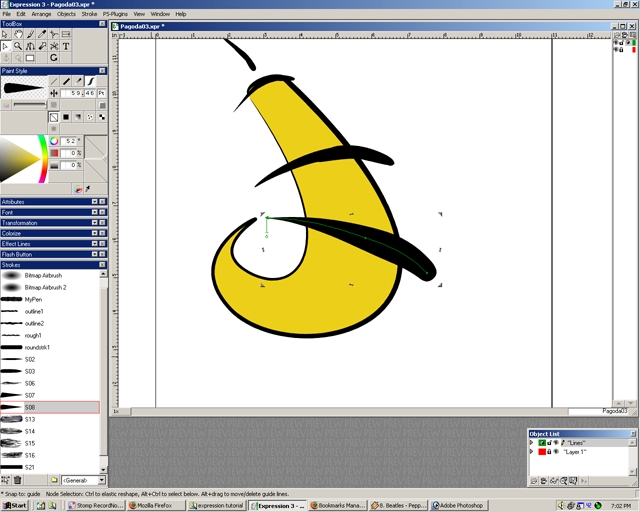
Step 60
Notice in the Paint Style dialog box to the left that there are 4 line icons. The curvy line icon is selected in the example below. Make sure the line is selected.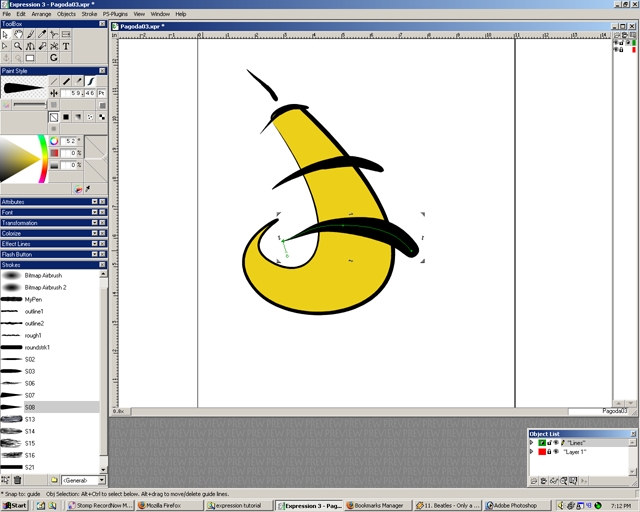
Step 61
Select the icon to the left of the curvy line icon. This is the gradient line icon.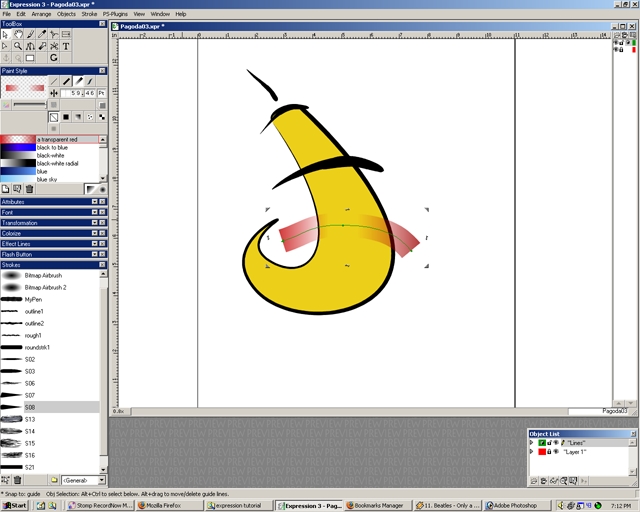
Step 62
Select the icon to the left of the gradient line icon. This is the PS Stroke(regular line) icon.
Step 63
Select the icon to the left of the PS Stroke icon. This is the No Stroke icon.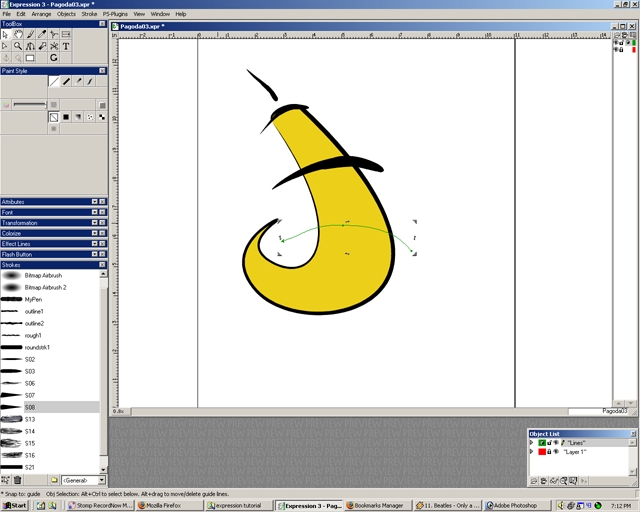
Step 64
Return the line back to the desired look.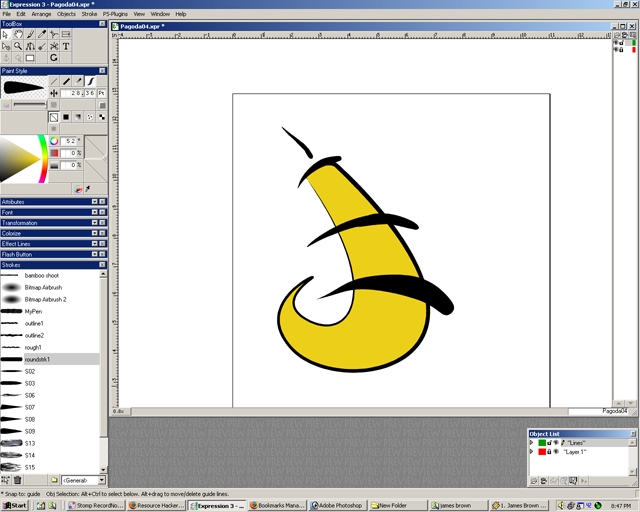
Step 65
Once again I am zooming out to see if the logo is looking the way I want it to.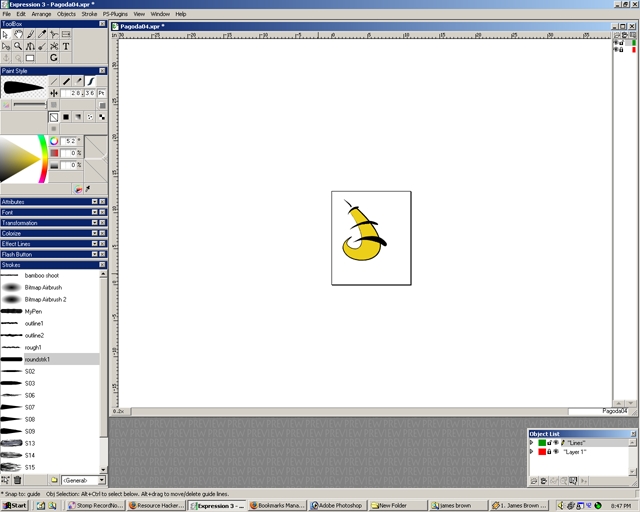
Step 66
Choose the brush tool and choose a color. Draw over part of the picture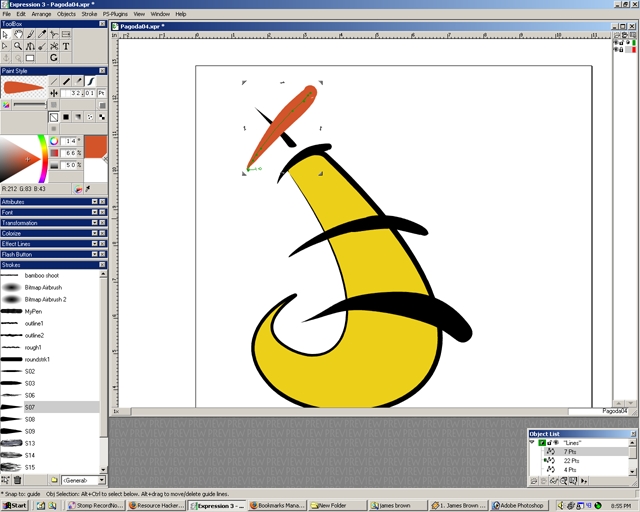
Step 67
Make sure the new stroke(or line) is selected. Press the PageDown key to move the stroke back behind the image. By pressing PageUp or PageDown it move the order of the strokes or shapes on a single layer. Note: Ctrl+PageUp or Ctrl+PageDown moves to the front or back whereas PageUp and PageDown move foward and backward just 1 step at a time.
Step 68
Select the chape body and chose the Gradient fill tool.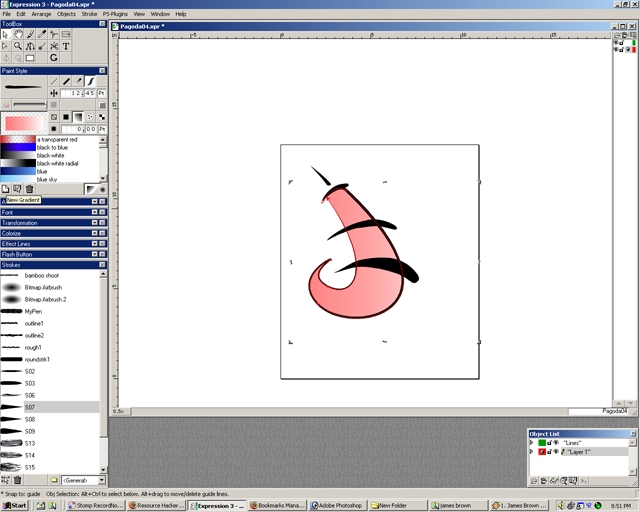
Step 69
Choose a desired gradient. Select the new gradient icon. A dialog box will ask for a new gradient name. Change it to a desired name and select Yes.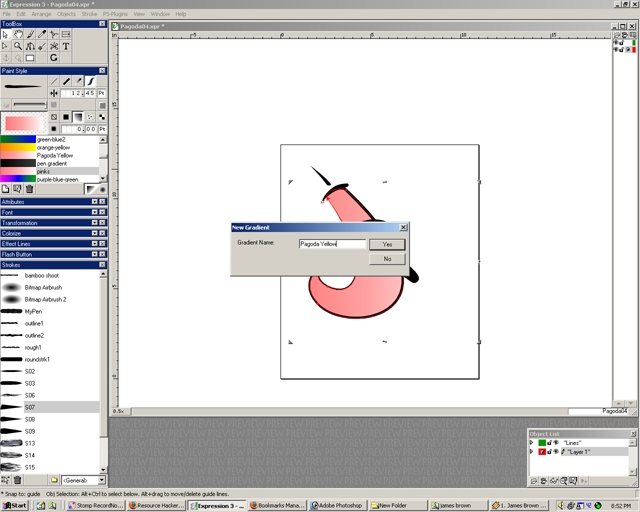
Step 70
Now the new gradent will appear in the gradient dialog box. Double left click on the name.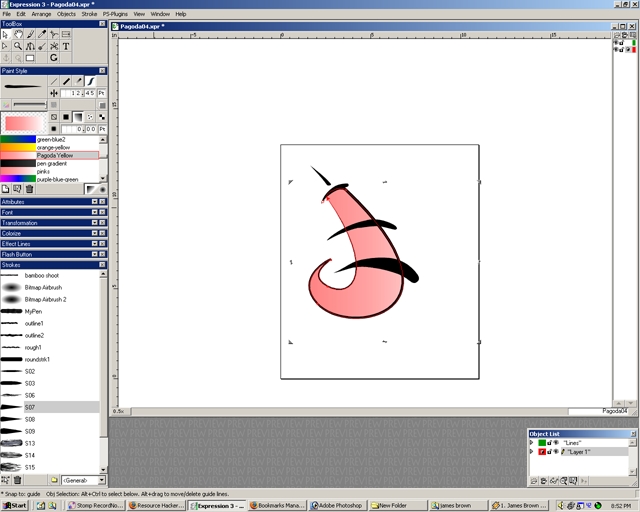
Step 71
Now the Paint Style Dialog will appear allowing you to change the color and look of the gradient.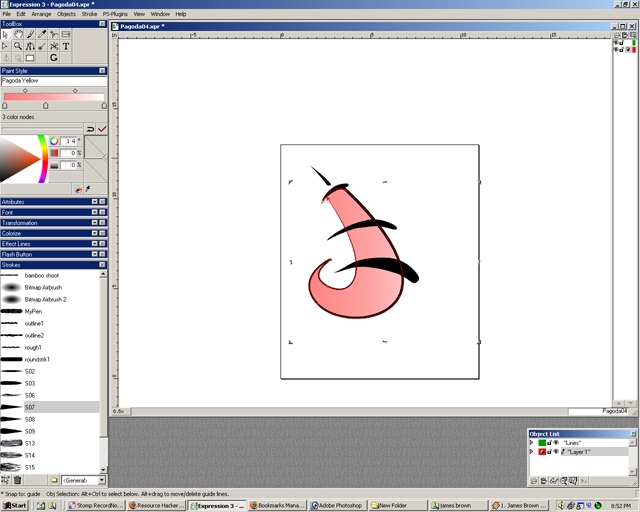
Step 72
Before starting the gradient change I will be making a custom color. Make sure you already have the color you want to use selected. Then in the color picker tool hold the left mouse button on color wheel icon. Select the custom colors icon.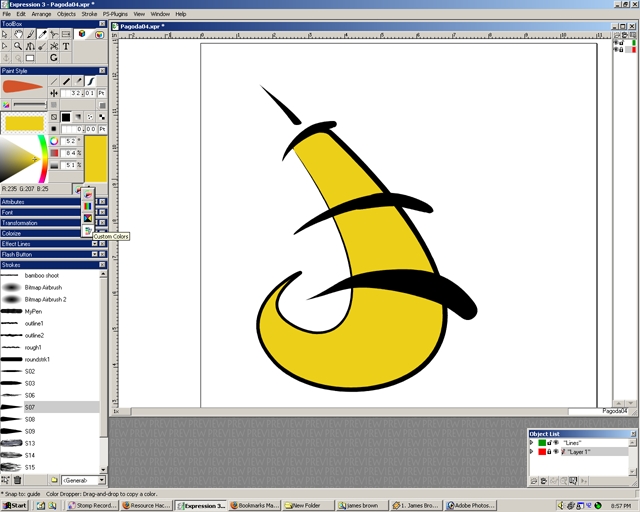
Step 73
A list of custom colors will appear. At the bottom of the list in the dialog box is a New Custom Colors Icon. Select it.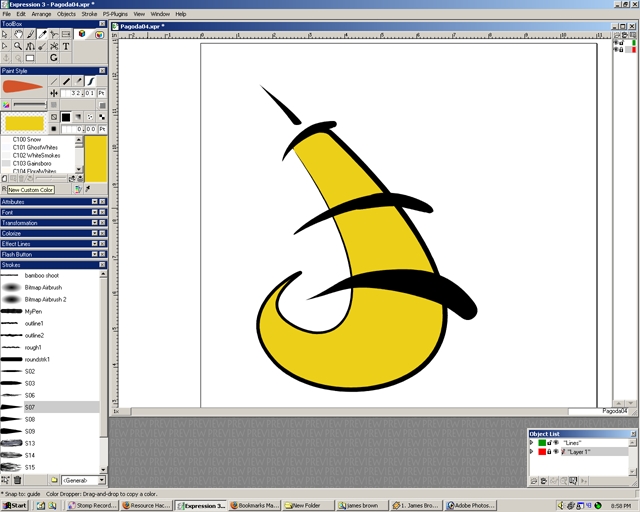
Step 74
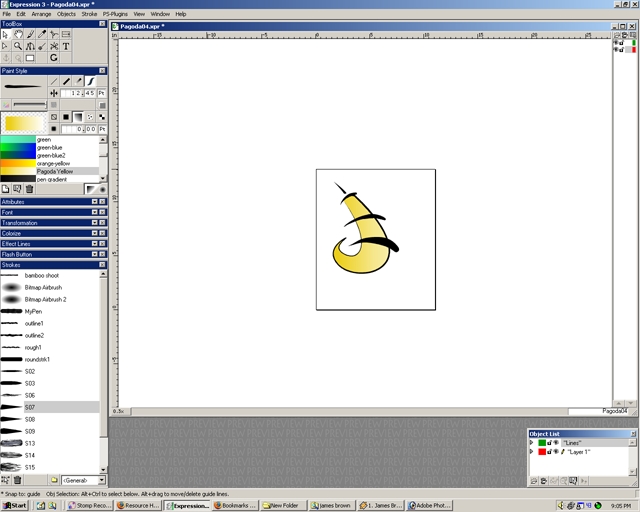
In the Paint style box rename the color. I called mine "Yellow Pagoda". Click the checkmark to confirm the creation of the custom color.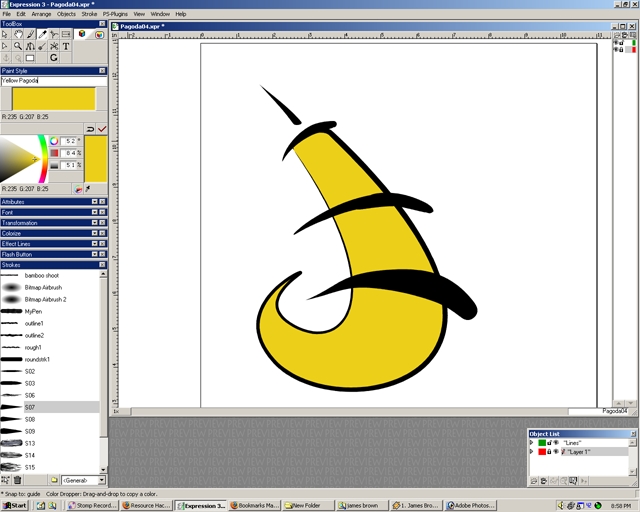
Step 75
Now that the custom color has been created go back to step 71 where we were editing the custom gradient.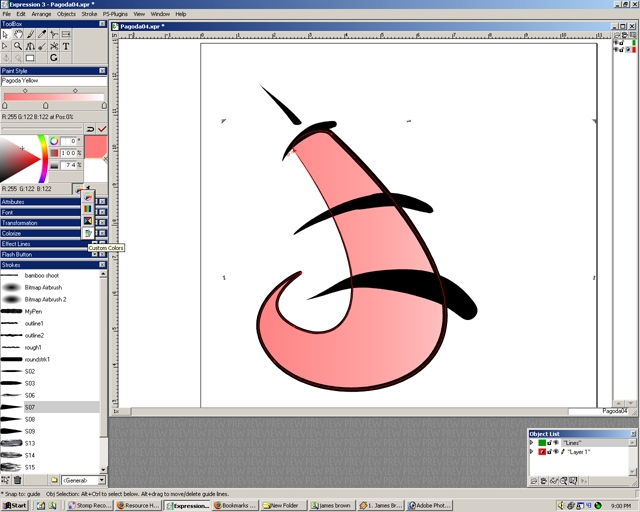
Step 76
Select the pentagon shape to the right. It should turn from clear to the color the gradient is. Go to the custom colors and select your custom color. Select the checkmark.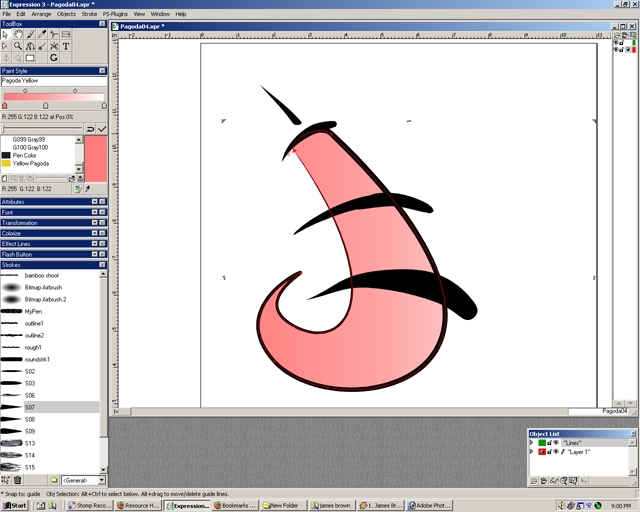
Step 77
Still the midtone is pink.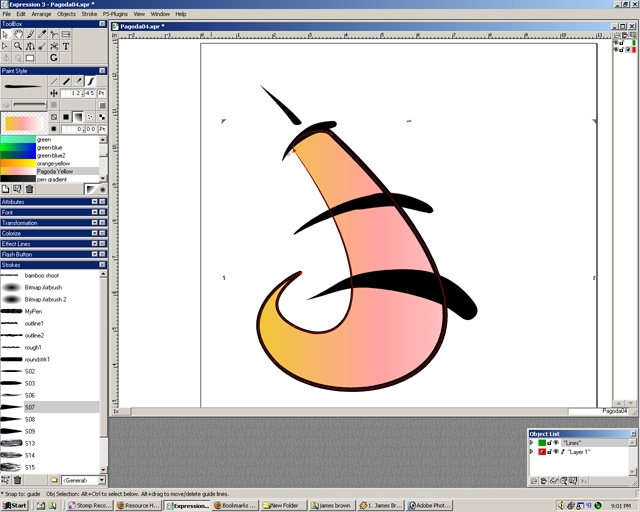
Step 78
Edit the gradient again. Select that middle pentagon and make it your custom color. Drag the pentagons and the circles above the gradient to adjust the gradient look of the shape.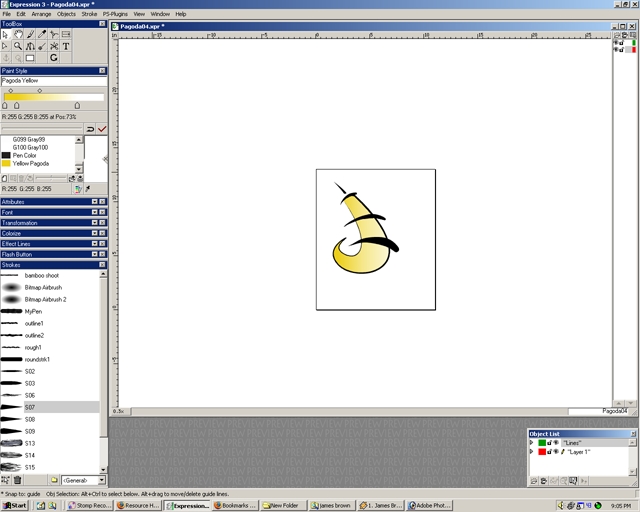
Step 79
Select the checkmark. Now you have a basic understanding of this fabulous program.